Deprecated: Creation of dynamic property acf_plugin_medium_editor::$settings is deprecated in /home/projects/algo/public_html/wp-content/mu-plugins/studiothink/components/acf-medium-editor/acf-medium-editor.php on line 40

Deprecated: Creation of dynamic property Mailtpl_Customizer::$defaults is deprecated in /home/projects/algo/public_html/wp-content/plugins/email-templates/includes/class-mailtpl-customizer.php on line 44

Deprecated: Creation of dynamic property Mailtpl_Mailer::$opts is deprecated in /home/projects/algo/public_html/wp-content/plugins/email-templates/includes/class-mailtpl-mailer.php on line 45

Warning: Undefined array key "test-currency" in /home/projects/algo/public_html/wp-content/themes/algo/functions.php on line 2520
81X8T2X2 Ceiling Speaker T-Bar 2’x2′ Panel - Algo
Home > Products > Product Accessories > 81X8T2X2 Ceiling Speaker T-Bar 2’x2′ Panel

81X8T2X2 Ceiling Speaker T-Bar 2’x2′ Panel

81X8T2X2 Ceiling Speaker T-Bar 2’x2′ Panel

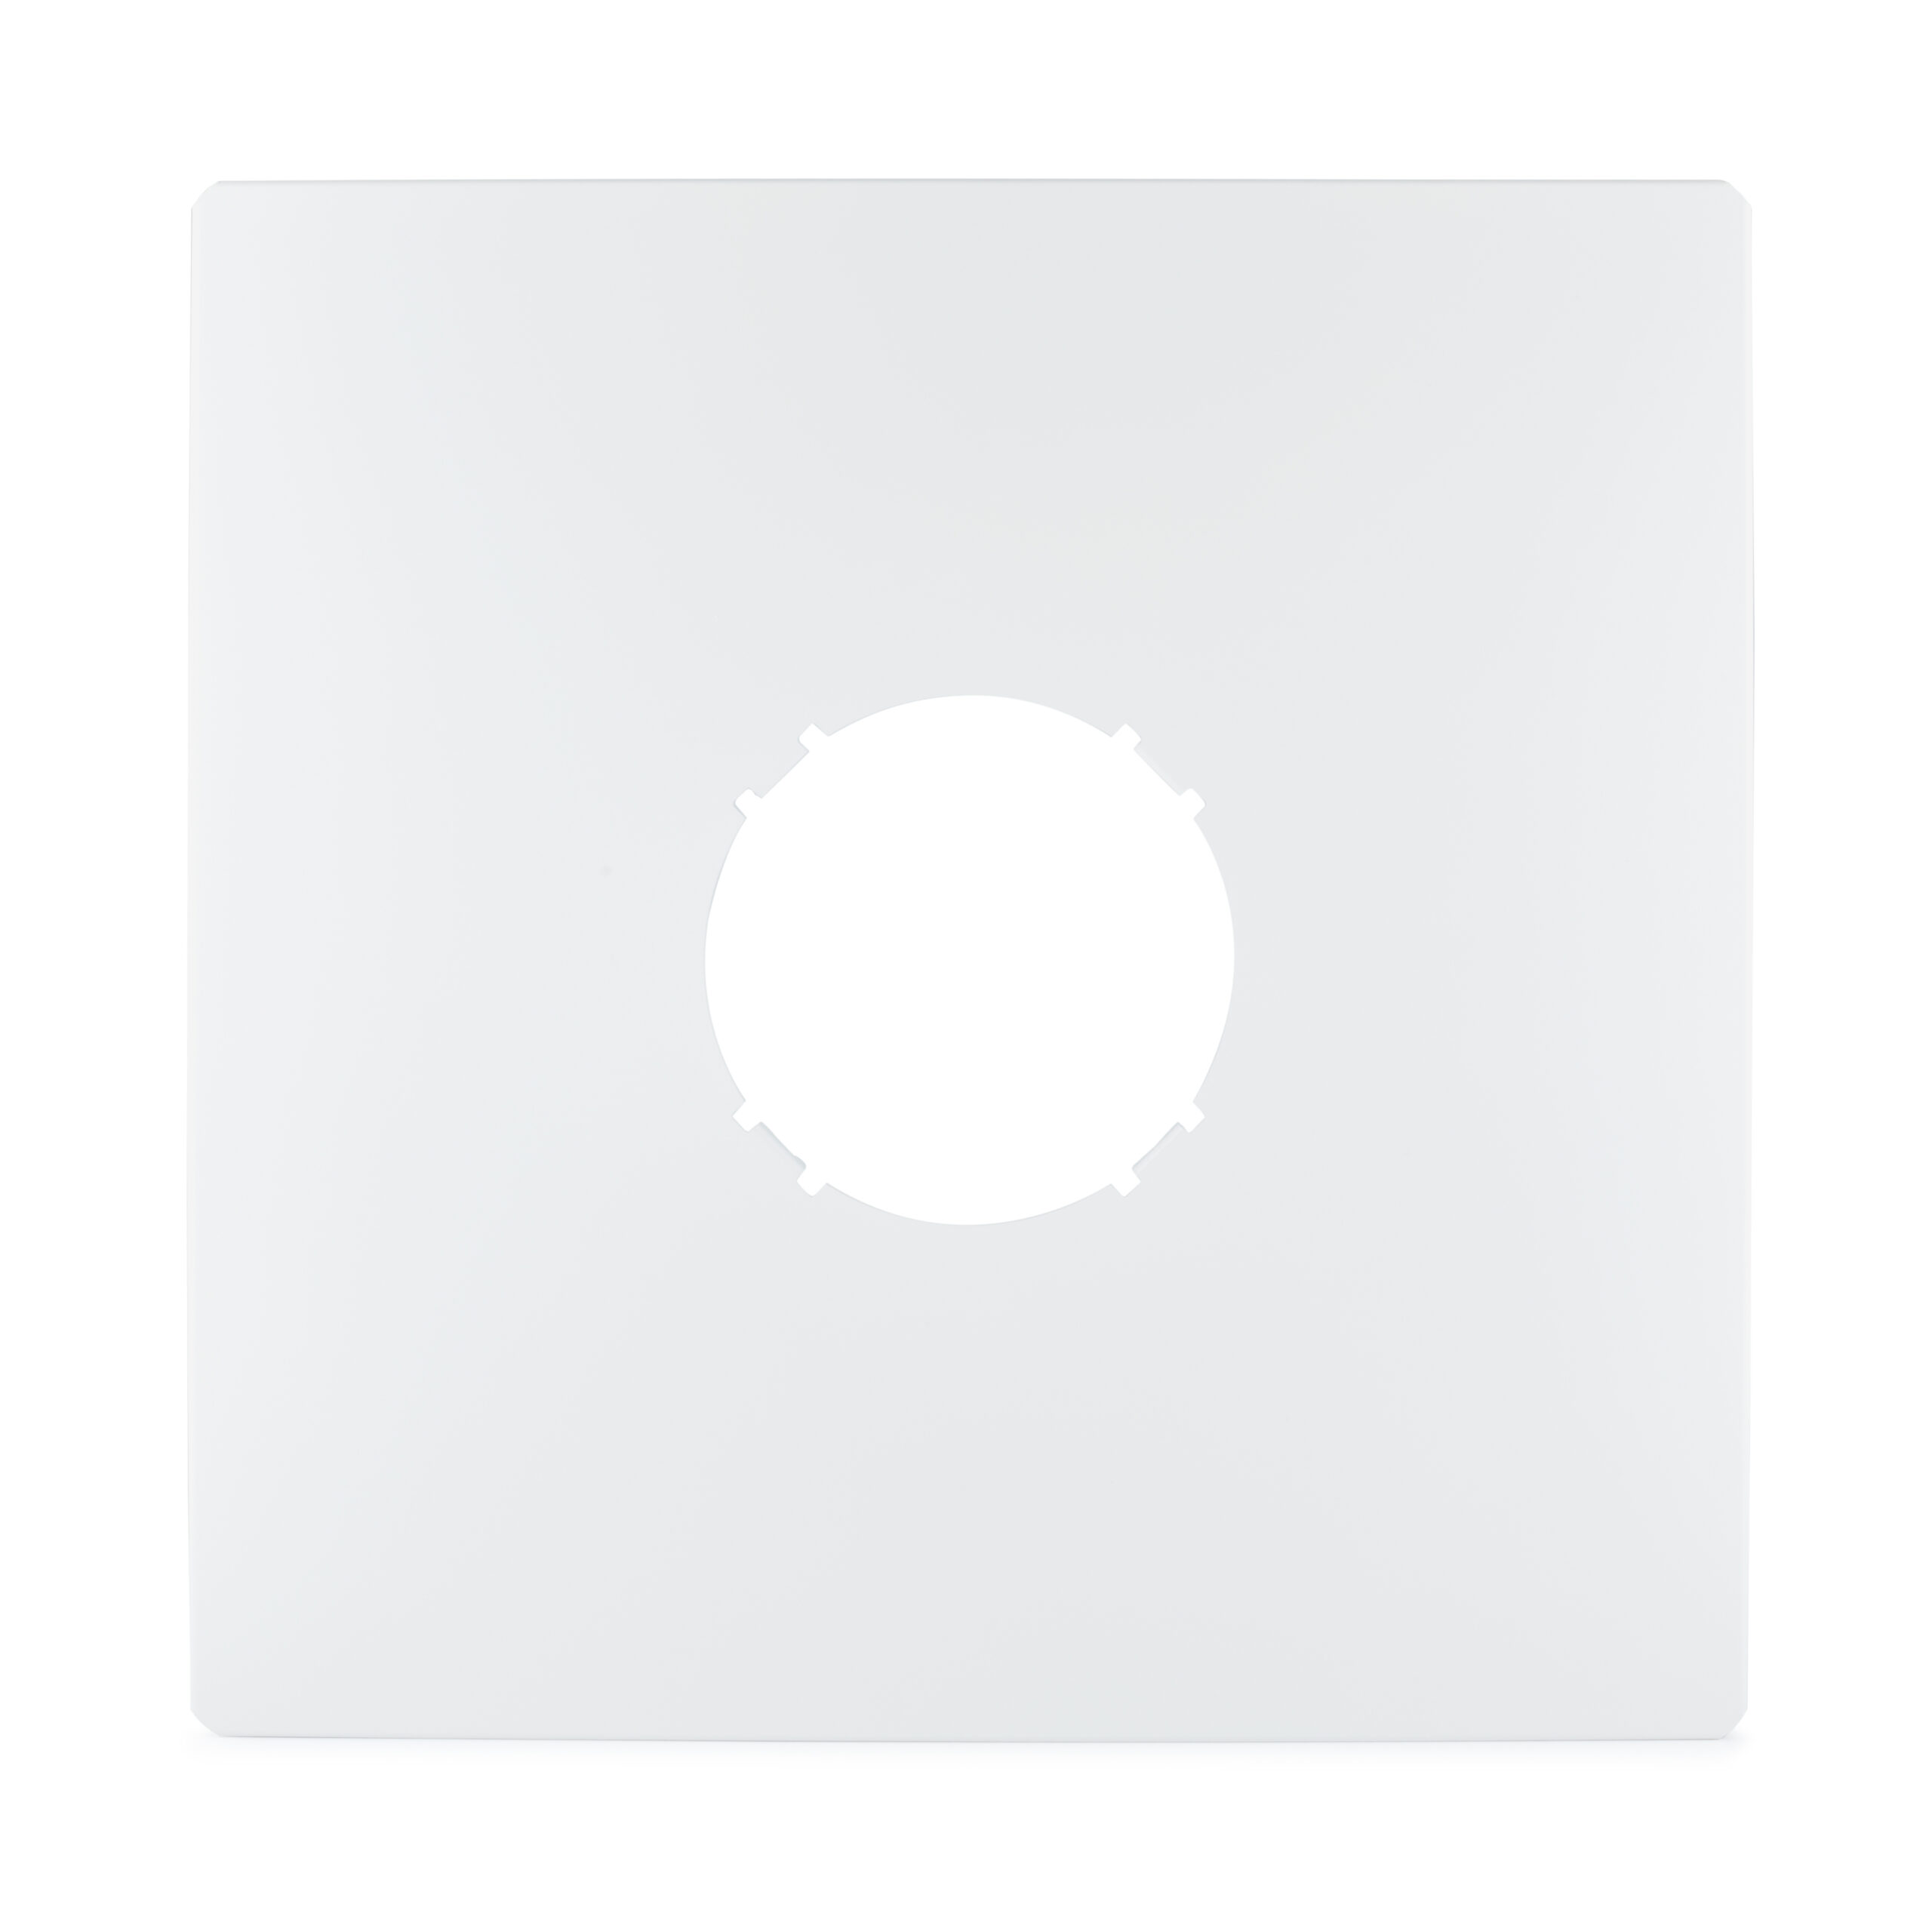
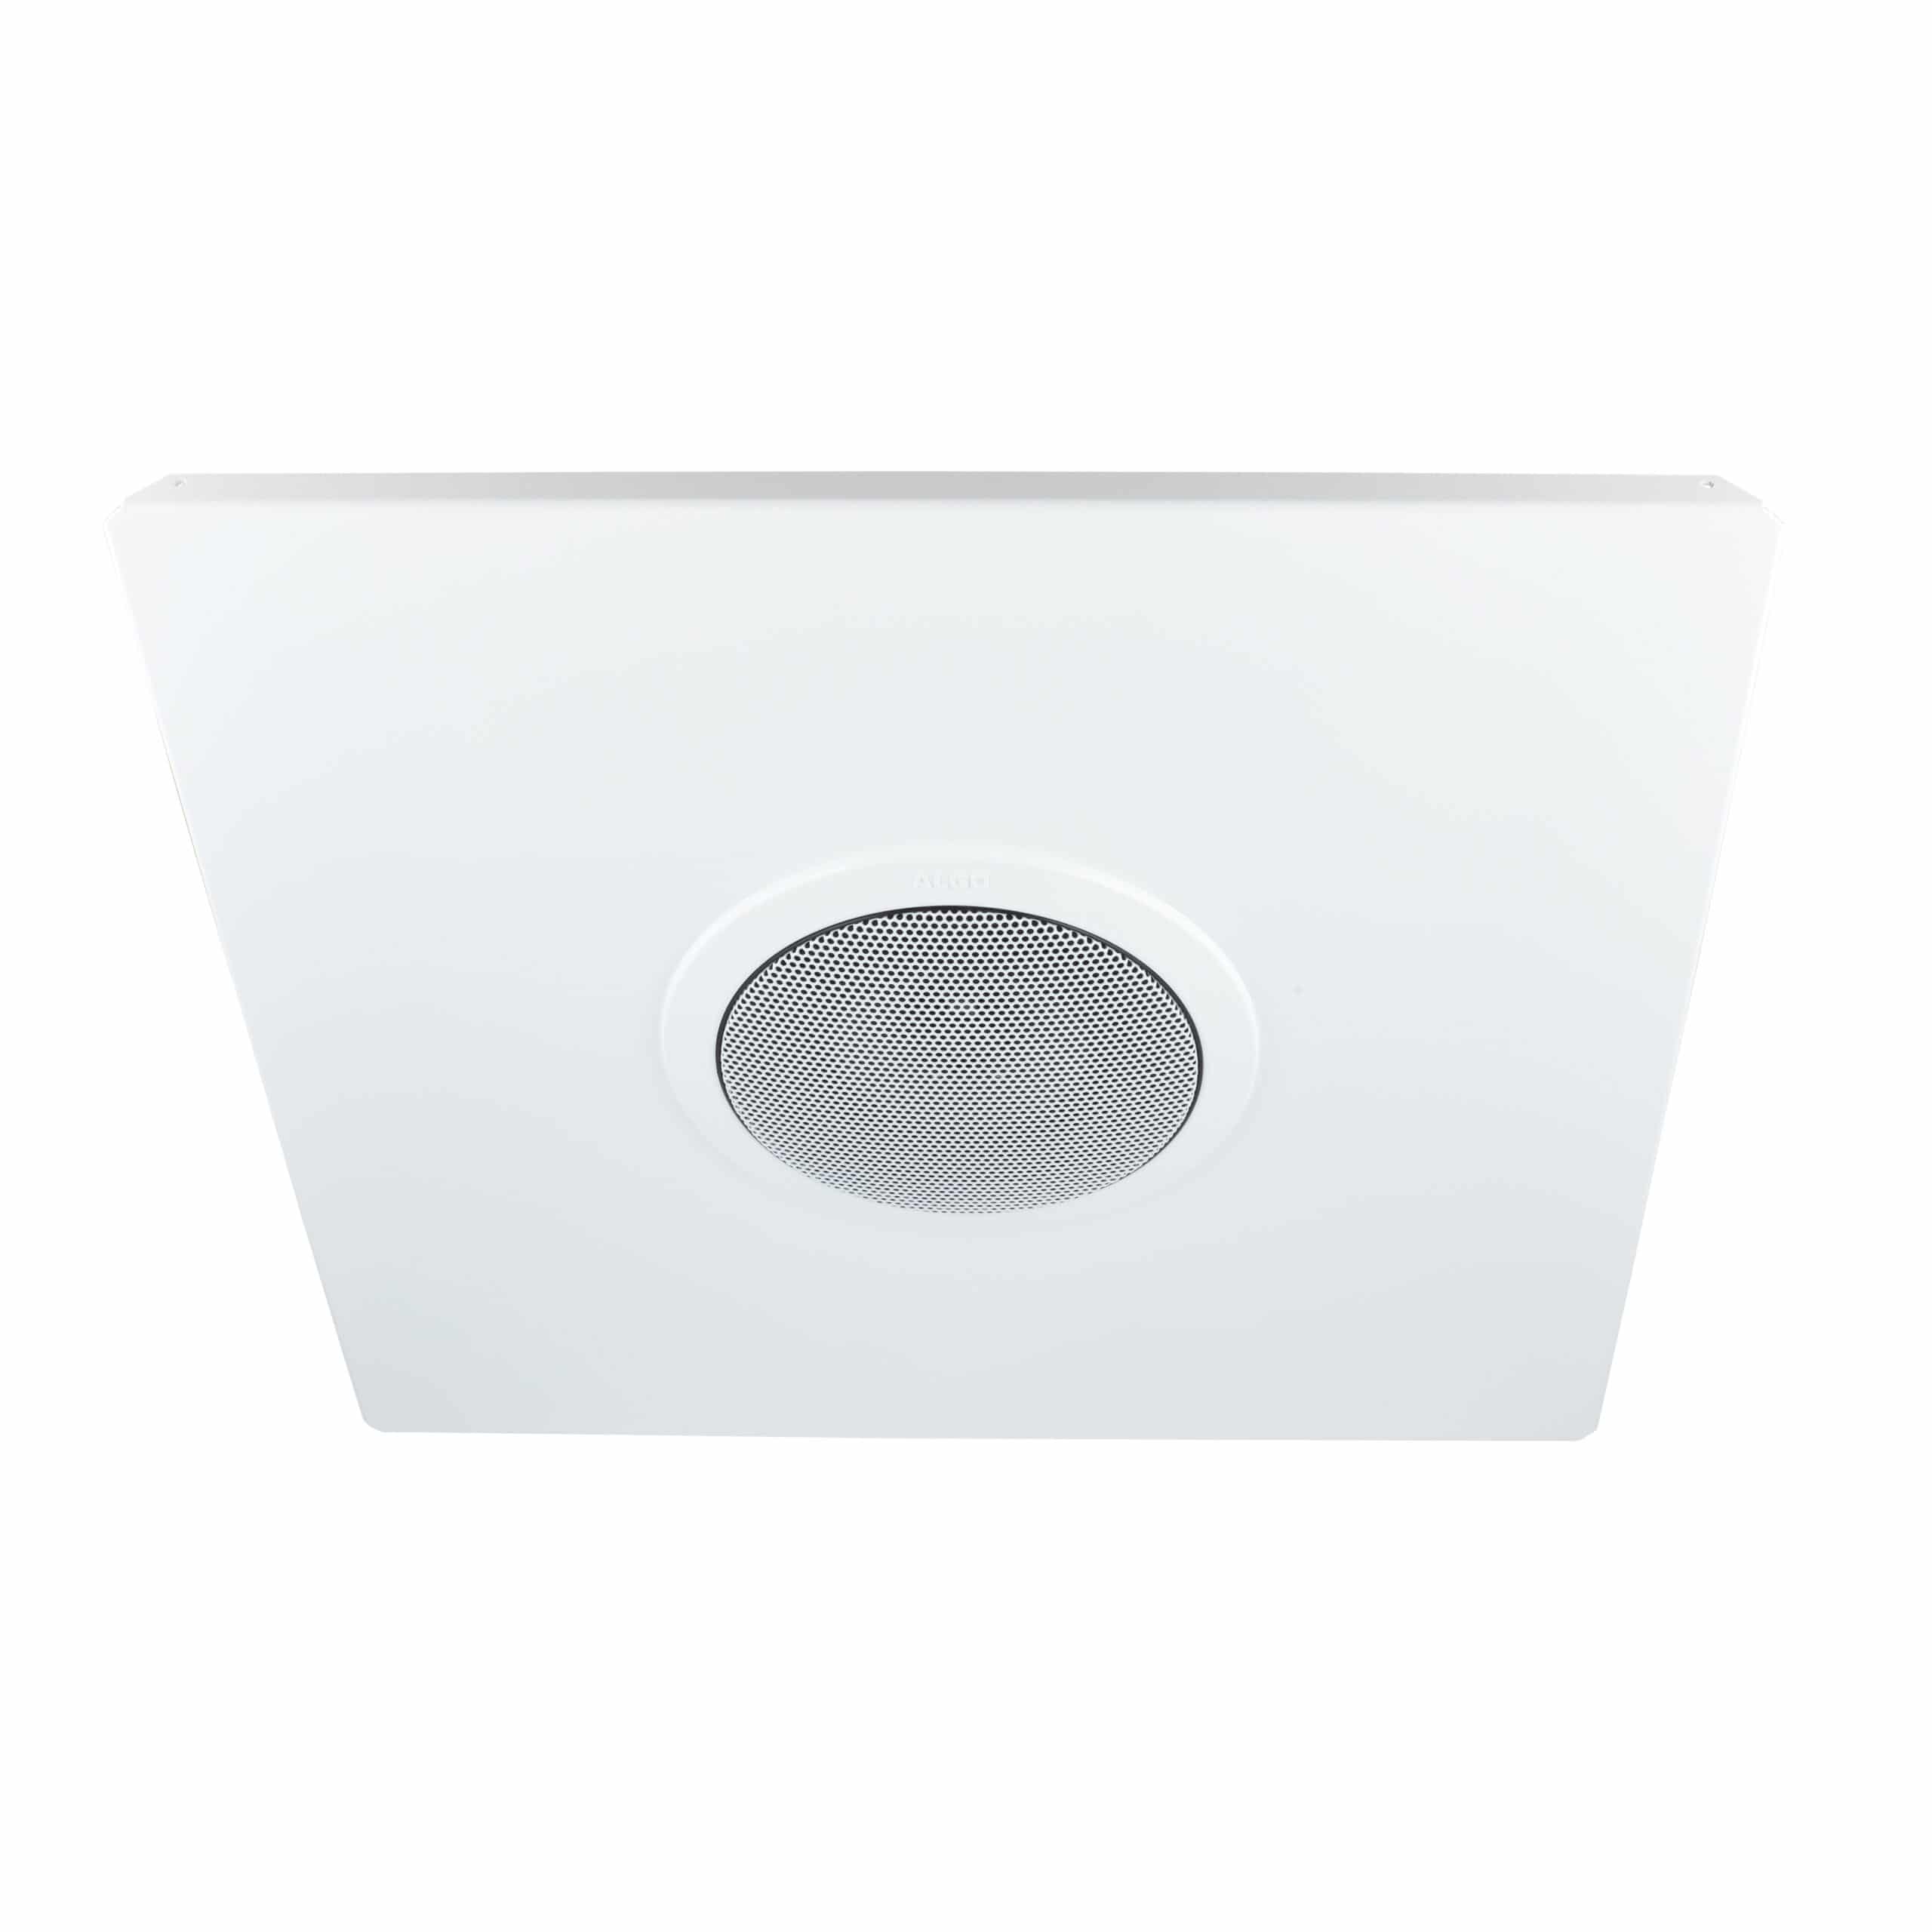
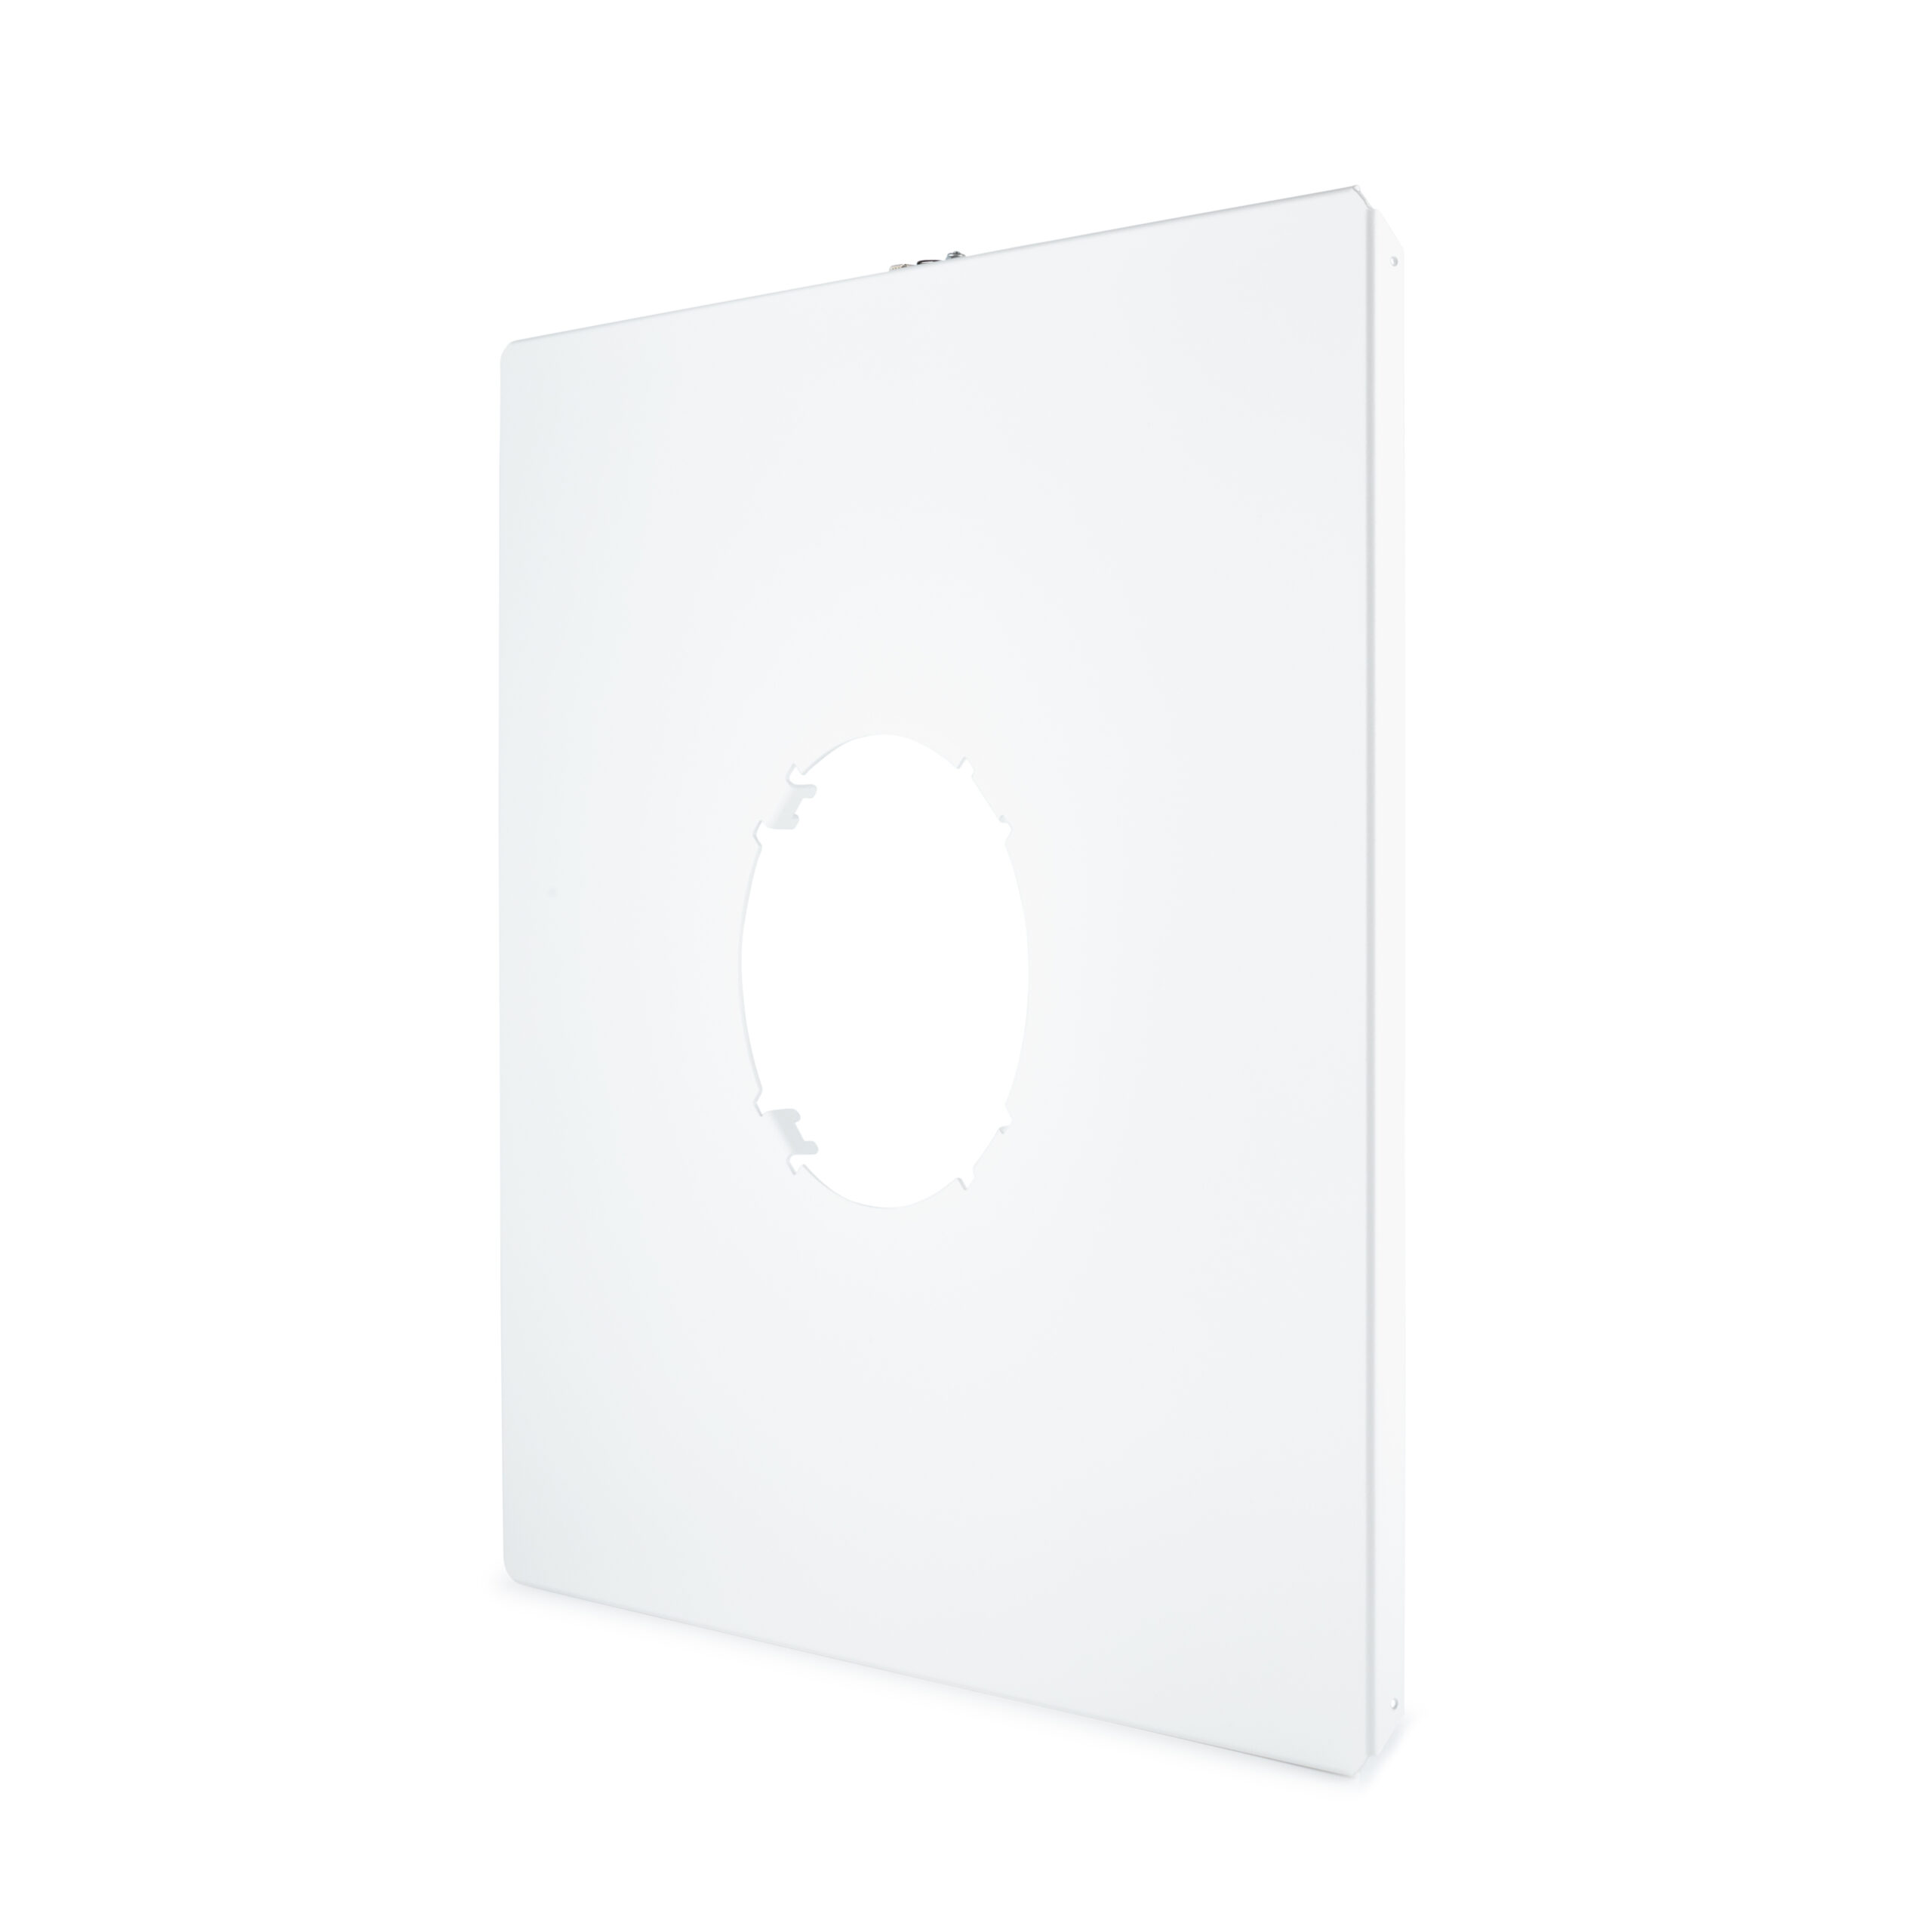
The 81X8T2X2 Ceiling Speaker T-Bar Panel is 2′ x 2′ to fit a standard drop ceiling tile. A pre-cut hole makes the installation of the 8188 SIP Ceiling Speaker quick and easy. Available in white only.

Pricing of T-Bar Panel does not include the 8188 speaker.

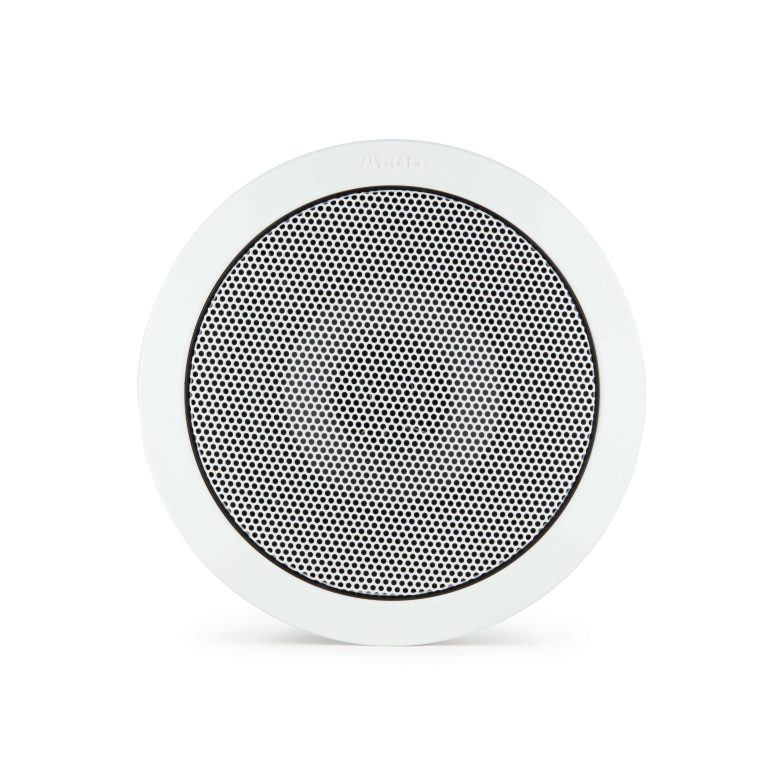
Note: When using the T-Bar panel (81X8T2X2), the support bracket (81X8TBR) is not required. The same T-Bar Panel can be used with all Algo Ceiling Speakers, including the 8188 IP Ceiling Speaker, 8198 IP PoE+ Ceiling Speaker, and 1198 Satellite Ceiling Speaker (including InformaCast versions).

The 81X8T2X2 replaces the previously sold 8188T2X2, the product is identical in appearance and function.

$130.00 USD
- +
SKU: 81X8T2X2 Category:

Description

How to Use Algo for Drop Ceiling Speaker Installation

To install an Algo speaker in a drop ceiling using the 81X8T2X2 Ceiling Speaker T-Bar 2’x2′ Panel, follow these simple steps:

Please note that you can either use the 2’x2′ Panel or the T-Bar Bracket for drop in ceiling installation.

  1. Select desired Algo Ceiling Speaker: This panel is compatible with various Algo ceiling speakers, including the 8188, 8198, 1198, (including InformaCast versions).
  2. Prepare the Installation Area: Identify the ceiling tile where you want to install the speaker. The 81X8T2X2 panel comes with a pre-cut hole, eliminating the need for additional cutting or adjustments.
  3. Install the Speaker: Fit the Algo speaker (note that the speaker is sold separately from the T-Bar Panel) into the pre-cut hole of the 81X8T2X2 panel. No additional support bracket is needed for this installation, simplifying the process.
  4. Finalize Setup: Once the speaker is secured in the panel, install the panel back into the drop ceiling grid. Ensure it is firmly in place and the speaker is stable.
  5. Connect and Test: Connect the speaker to your network and PoE. Test the speaker to ensure it is functioning correctly.

This installation method not only ensures a clean and seamless integration of Algo speakers into your environment but also leverages the advanced capabilities of Algo’s sound technology.
Resources

Documentation